Understanding Concrete Patio Deterioration
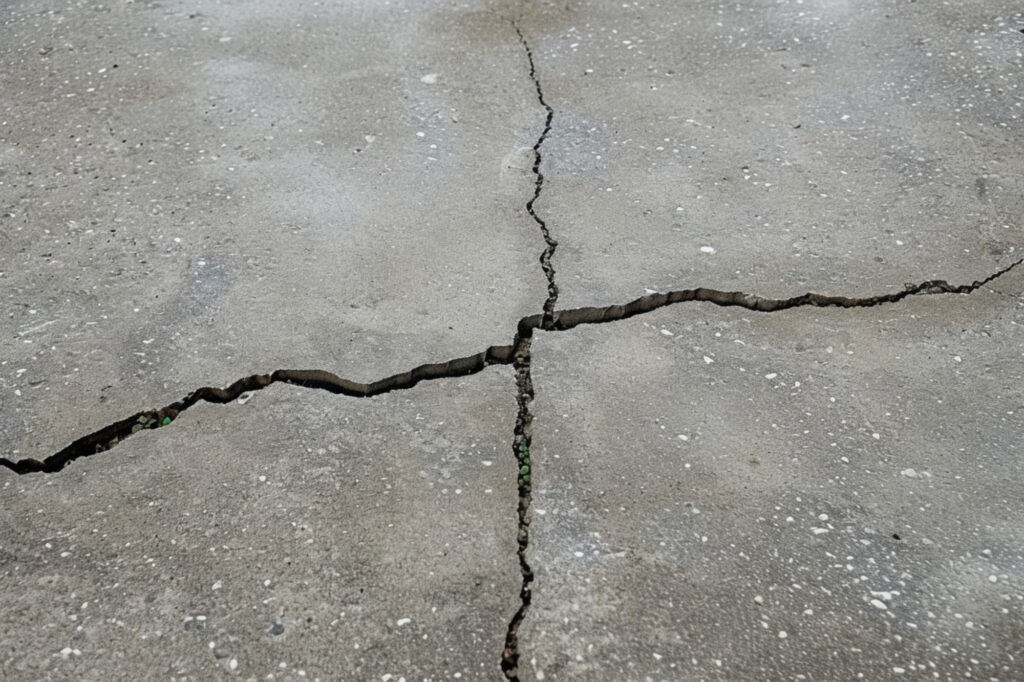
Concrete patios, while durable, are not immune to the wear and tear of Mother Nature and daily use. In Joliet, with our range of weather conditions, it’s common to see patios suffering from various types of deterioration. This can range from minor surface cracks to more significant issues like crumbling edges or spalling (where the surface flakes or chips away).
It’s crucial to address these problems promptly. Ignoring minor cracks can lead to bigger problems, such as water seepage, which can worsen the damage, especially during our freezing winters. Regular checks can help you spot these issues early and take action before they escalate.
Assessing the Damage
A detailed damage assessment is crucial. It helps you decide whether a DIY fix is feasible or if professional help is needed. Here’s a more in-depth approach to assessing patio damage:
- Detailed Crack Analysis: Besides measuring crack width, observe their patterns. Are they linear, web-like, or localized? Linear cracks might suggest surface-level issues, while web-like or deep cracks could indicate structural problems.
- Surface Degradation: Examine the extent of spalling. Is it superficial or does it expose the underlying aggregate? Check for signs of moisture penetration and efflorescence (white powdery substance), which suggest deeper issues.
- Level Assessment: Use a level to check for unevenness in the patio. Significant sloping or sinking can indicate problems with the foundation or soil erosion underneath.
- Comprehensive Surface Check: Look for discoloration, pitting (small holes), and scaling (layers coming off). These are signs of aging and weather impact.
Essential Tools and Materials
- Concrete Filler or Caulk-Based Repair Product: Ideal for filling cracks. Look for weather-resistant types suitable for our Illinois climate.
- Concrete Mix or Patching Compound: For more extensive repairs, especially where there’s crumbling or missing concrete.
- Grinding and Cleaning Tools: Including a wire brush, chisel, and hammer for preparing damaged areas before repair.
- Trowel and Float: For applying and smoothing patching materials.
- Pressure Washer: Helpful for deep cleaning the patio surface pre and post-repair.
- Sealant: To protect the repaired area and the entire patio surface against future weather damage.
- Protective Gear: Safety glasses, gloves, and a dust mask are essential for personal protection.
NOTE
Knowing the purpose of each tool and material will streamline your repair process and ensure better results.
Step-by-Step Repair Procedures
Repairing a concrete patio involves a meticulous process, each step crucial to the final outcome. Here’s a detailed expansion of each step to guide you through the process:
Filling and Sealing Cracks:
- Initial Cleaning: Start by using a stiff wire brush to clean out the crack. This step is crucial for removing dirt, debris, and any vegetation that may have grown. A clean crack ensures better adhesion of the filler.
- Widening Hairline Cracks: For hairline cracks, which are often too narrow for filler to penetrate effectively, use a chisel and a hammer to gently widen them. Aim for a slight widening, enough for the filler to seep in, but be cautious not to cause additional damage.
- Applying the Filler: For small cracks, a caulk-style concrete filler is ideal. Insert the filler tube into a caulk gun, cut the nozzle to the desired width, and fill the crack. For larger cracks, a concrete patching compound, which is thicker and suitable for larger gaps, should be used. Apply it with a trowel, pressing it firmly into the crack.
- Smoothing and Leveling: After applying the filler or patching compound, use a trowel to smooth and level it with the surrounding area. This not only improves the appearance but also ensures an even surface for walking.
Repairing Crumbling Corners and Edges:
- Removing Loose Material: Carefully chip away all loose and crumbling concrete from the damaged area. This step is essential for creating a solid base for the new concrete to adhere to.
- Prepping the Area: Before applying the patching compound, lightly dampen the area with water. This prevents the existing concrete from drawing moisture out of the patching compound too quickly, which can weaken the bond.
- Layered Application: Apply the patching compound in layers, especially if the area to be repaired is deep or large. After applying each layer, smooth it out and allow it to partially set before applying the next. This method provides better stability and adhesion between layers.
Resurfacing Techniques:
- Surface Cleaning: Before resurfacing, it’s imperative to clean the patio thoroughly. Use a pressure washer to remove dirt, grime, and any loose particles. This ensures the resurfacing material adheres properly.
- Applying the Resurfacer: Mix the concrete resurfacer as directed by the manufacturer. Apply it with a squeegee or trowel, working in small, manageable sections. This allows you to maintain a consistent texture and avoid drying lines.
- Texturing the Surface: While the resurfacer is still wet, gently sweep a broom or brush over the surface to create a textured, non-slip finish. This is particularly important in areas prone to moisture, as it helps prevent slips and falls.
Non-Slip Surface Solutions:
- Post-Resurfacing Application: After the resurfacing process, and while the final layer is still wet, apply a non-slip additive. This can be sprinkled over the surface or mixed with a sealant.
- Uniform Application: Ensure that the non-slip additive is applied uniformly across the entire patio. This maintains consistency in texture and appearance, and maximizes safety across the entire surface.
- Maintenance: Over time, the effectiveness of the non-slip surface may diminish, especially in high-traffic areas. Plan for periodic reapplication of the non-slip treatment to maintain its functionality.
NOTE
Each of these steps is designed to not only repair visible damage but also to strengthen and protect your patio from future wear. Attention to detail and patience are key, especially when allowing materials to dry or cure, to ensure a long-lasting improvement to your patio.
Addressing Advanced Issues

When facing patios with extensive damage, it’s crucial to adopt a detailed and careful approach to ensure effective and long-lasting repairs. Here, we delve deeper into addressing such advanced issues:
In-Depth Expansion Joint Repair
- Expansion Joint Assessment: Begin with a thorough assessment of the expansion joints. These joints are critical as they allow your patio to expand and contract with temperature changes without causing cracks in the concrete. Look for signs of wear, cracking, or disintegration of the existing filler material.
- Removal and Preparation: If the filler material in the joints is compromised, it’s essential to remove it completely to prepare for the new filler. This can be done using a router for precision or a chisel for smaller areas. Ensure that all debris, dust, and remnants of the old filler are thoroughly cleaned out to provide a clean base for the new filler.
- Applying New Filler: For narrow joints, a standard elastomeric joint sealant is usually sufficient. However, for wider joints, a two-part filler system is recommended. This system typically includes a base layer that provides structure and a top layer that offers flexibility and weather resistance. The two-part system ensures that the filler accommodates movement and environmental changes, thus preventing future damage.
- Curing and Finishing: After applying the new filler, allow ample time for it to cure completely. This duration can vary based on the product used and weather conditions. Once cured, inspect the joints to ensure a smooth and level finish with the surrounding concrete.
Comprehensive Approach to Severe Damage
- Addressing Sunken Sections: In cases where parts of the patio have sunk or become uneven, slabjacking (or mudjacking) is a viable solution. This process involves pumping a specialized grout mixture underneath the sunken slab to raise it back to its original level. The grout solidifies, stabilizing the concrete slab and correcting the level. This method is less invasive and more cost-effective than complete slab replacement.
- Structural Integrity Assessment: For patios with extensive damage, such as large cracks or areas where the concrete has disintegrated significantly, a consultation with a structural engineer might be necessary. The engineer can assess the overall integrity of the patio and recommend either targeted repairs or more comprehensive solutions like partial or complete reconstruction.
- Professional Repair and Restoration: In such severe cases, professional intervention is not just advisable but often necessary. Professional contractors have the expertise, equipment, and materials to effectively restore the patio. They can also provide a more accurate estimate of the costs and time required for the repairs, ensuring that the work is done efficiently and to a high standard.
- Long-Term Considerations: Post-repair, consider long-term strategies to prevent similar damage in the future. This might include improving drainage around the patio, regular maintenance checks, and using protective sealants to guard against weather-related wear.
NOTE
By taking a comprehensive and methodical approach to addressing advanced issues, you can ensure that your patio repairs are effective, durable, and enhance the overall value and safety of your home.
Maintaining Your Patio Post-Repair
Maintaining your patio effectively after repairs is crucial for its longevity and aesthetic appeal. To ensure this, it’s important to develop a seasonal maintenance schedule. This schedule should encompass regular cleaning and annual sealing, along with routine inspections of the patio’s condition. Tailor this schedule to the changing seasons; focus on preventive measures as winter approaches, ensuring your patio is well-protected against the harsh cold and snow. As spring arrives, shift your attention to a thorough assessment and cleaning, addressing any issues that might have arisen during the winter.
When it comes to sealing your patio, an advanced approach can significantly enhance the protection and lifespan of the concrete. Consider using a sprayer for the application of the sealant. This method ensures an even and comprehensive coverage, providing better protection compared to traditional application methods. Pay particular attention to areas that receive high foot traffic or are exposed to prolonged sunlight. These areas are more prone to wear and tear and may require more frequent reapplication of the sealant to maintain their resilience against the elements.
In addition to regular cleaning and sealing, long-term care strategies play a pivotal role in maintaining the health of your patio. One key aspect is the management of drainage around the patio area. Regularly inspect and address any drainage issues to prevent water accumulation. Water pooling around your patio can lead to damage over time, undermining the integrity of the concrete and potentially leading to issues such as cracking or sinking. By proactively managing these aspects, you can enjoy a well-maintained and inviting patio for many years.
Conclusion
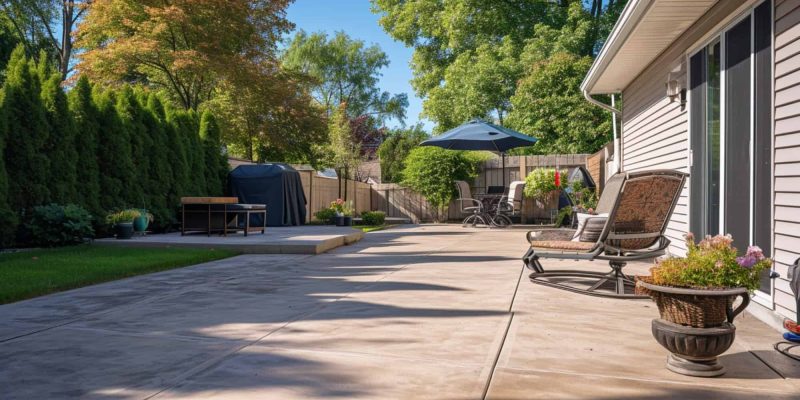
You’ve now embarked on a journey to becoming a concrete patio repair expert in your own right. With this comprehensive guide, we hope you feel equipped and confident to tackle patio repairs and maintenance. Remember, your patio is more than just concrete; it’s a canvas for family memories and a testament to your home’s care and value. By investing time and effort into maintaining it, you’re not only preserving a physical space but also the moments and experiences that unfold upon it.

